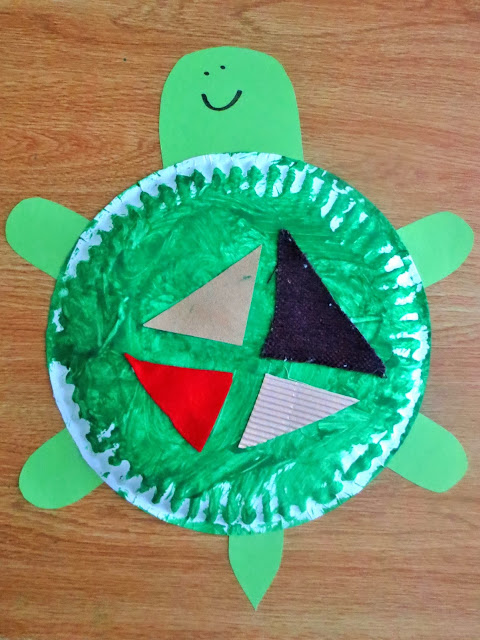
Our toddlers just finished a month focusing on our five
senses, and this was one of the many fun projects we made!
Of course we try to incorporate our five senses in what we do
all throughout the year, and this simple activity would be fun for an animal unit,
learning about colors or shapes, enriching a study about textures, and more.
Present your child with several different textures to explore.
I chose to cut mine in triangular shapes, but you could do any shape. As they
touch each texture, describe it to them using rich vocabulary – rough, bumpy,
smooth, silky, soft, hard, sticky, stiff, squishy, coarse, fine, etc.
You can use all sorts of textures on your texture turtle – I
cut triangles of sandpaper (try various grades for some differences!),
corrugated cardboard, and several different types of fabric scraps (velvet,
cotton, silk, rayon, etc). But you could also do bubble wrap, foil, contact
paper, ribbons, cardstock… the possibilities are endless! It might even be fun
to add some not-so-flat textures like Styrofoam pieces.
Tell them they are going to get to add those textures to the
back of a turtle, then offer them a paper plate and let them paint it with
green paint!
A lot of mine chose to brush their fingers first, then spread
the paint with their hands.
While the paint is still wet, stick the textures onto the
texture turtle’s back! If you are using heavier textures, you might want to
wait until the paint is dried and use glue.
Finally, attach the paper head (let older kids draw their own
face!), legs, and tail – we taped them to the back of ours.
This
is my third year making these turtles with my students (both preschool and
toddlers), and it has always been a hit! However you do it, this will be a fun project to make and
enjoy afterward too.


No comments:
Post a Comment