This February’s pie of the month was an interesting but tasty
combination that reminded us of summer!

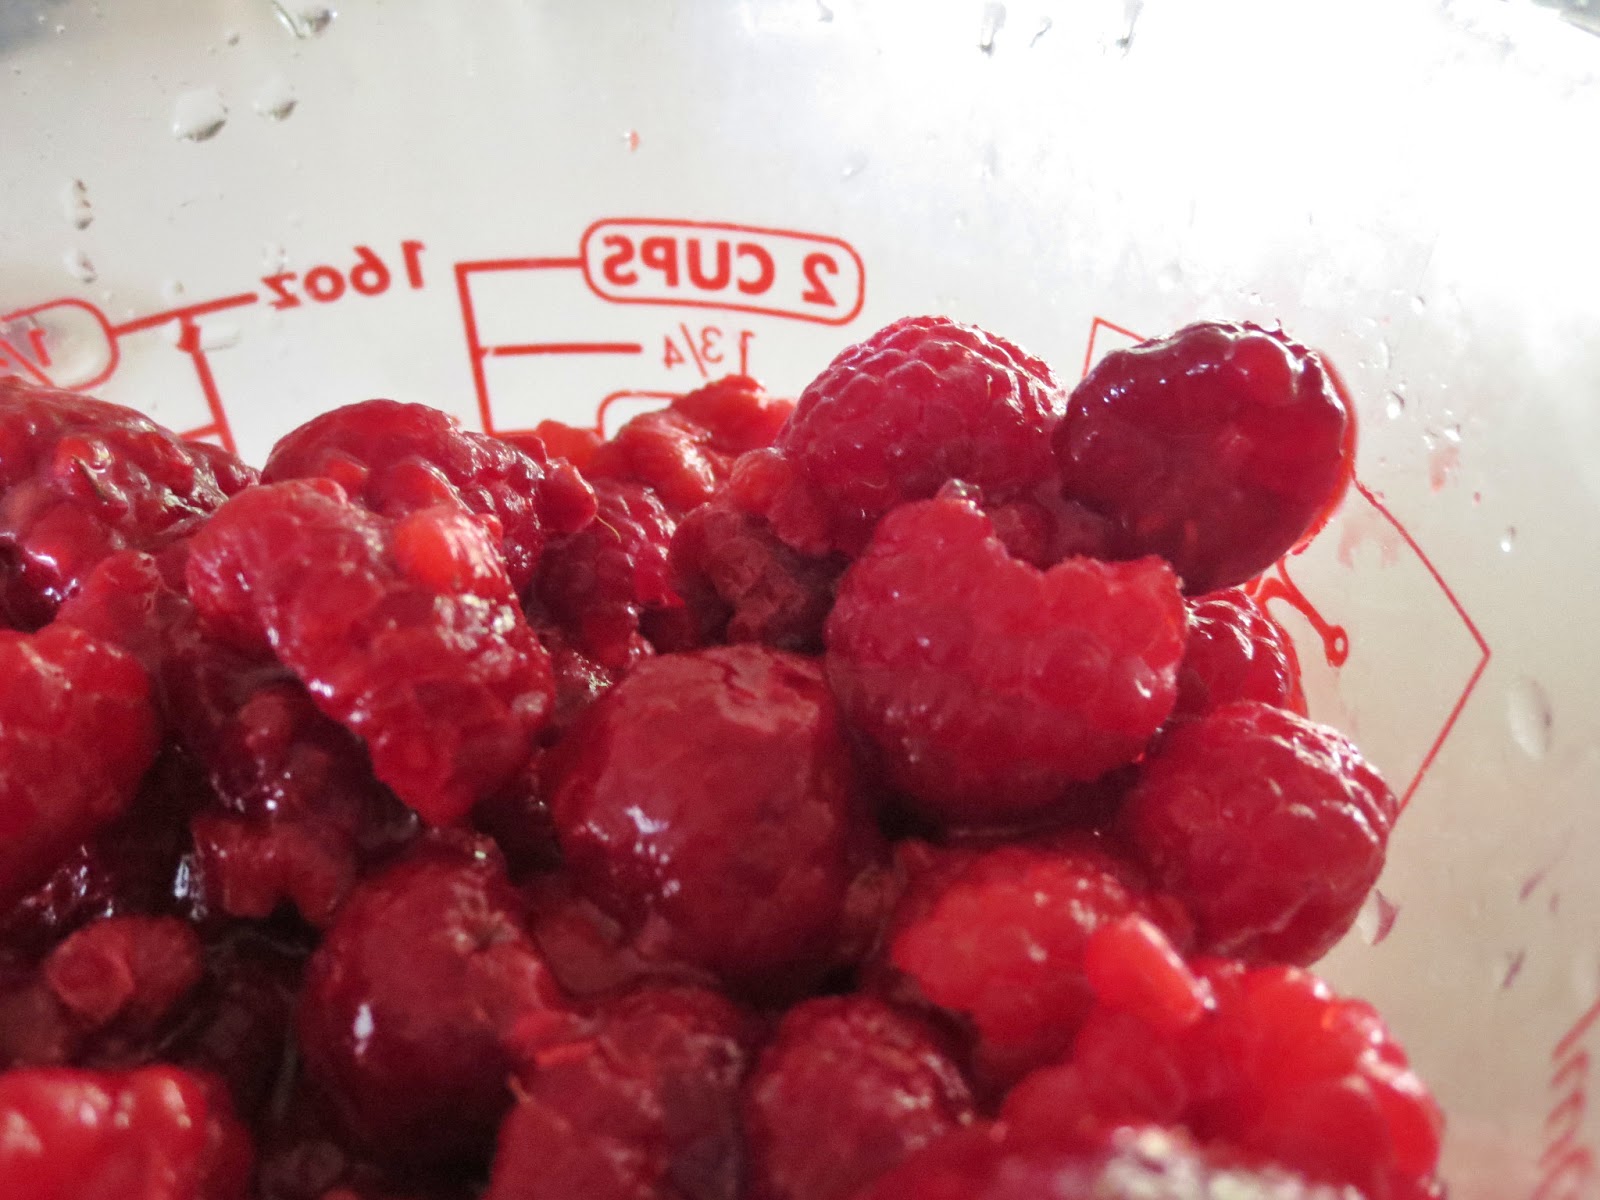
Not too many ingredients were needed…

We did use frozen, rather than fresh, raspberries, and I don’t think we let them sit out to thaw for long enough. Next time I would allow at least 30 minutes of frozen raspberries sitting at room temperature before using them.

So the filling of this pie is actually a combination of milk
and marshmallows! Who knew? They get melted together in a saucepan over low
heat. It took about 10 minutes, and I stirred it occasionally.


While that was melting, I quickly whipped up some whipped
cream. It took me about 3 minutes. I didn’t add it to the milk and marshmallows
until the mixture was cooled.


I followed the recipe’s suggestion of adding a few drops of
red food coloring, since we made this the day after Valentines and we were
feeling festive.

Then it was already time to put it all in the pie crust! (Using
a pre-made graham cracker crust is a real time-saver.) Place half of the
filling at the bottom, followed by a layer of raspberries.

Then top it with another layer of filling and a final layer of
raspberries!

Due to the raspberries not being totally thawed, we had a
little issue with the juice making the pie slightly runny. But I still think it
still turned out beautifully.

The best part, though, was the extremely fresh taste of this
pie! Even though we used frozen raspberries, it genuinely tasted like summer!

What a great way to enjoy some berries at any time of the
year!

Fresh Raspberry Pie from Taste of Home
1 graham cracker crust
24 large marshmallows
⅓ cup milk
⅔ cup heavy whipping cream, whipped
a few drops of red food coloring (optional)
2 cups fresh raspberries, divided
- Heat marshmallows and milk in saucepan over medium heat until smooth. Cool.
- Fold in cream (and food coloring if desired). Spoon half into crust. Top with half the raspberries. Repeat layers.
- Chill until firm, at least 3 hours (8 hours or overnight recommended).


No comments:
Post a Comment